Lemon curd is one of life’s great joys, especially when it’s really good. Homemade is my favourite and it’s not terribly difficult to make, yet it far surpasses most of what I’ve ever found on a store shelf. I love to eat lemon curd on toast, scones, pancakes or ice cream. I especially like to whip up a quick batch of homemade lemon curd when I want to make a bit of a fuss. It’s not hard to make, but it feels like something special and celebratory for special occasions or days when comfort food is what’s needed. If i have a friend coming over, but not a lot of time to prepare, I find that I can quickly stir up some lemon curd to serve alongside store-bought pastries or these Easy 3 Ingredient Scones which also take very little time or effort to set out for enjoying with a hot cup of coffee or tea on the couch while we catch up on the latest gossip. However, if I’m honest I mostly make this for myself and I’m not ashamed to say that it usually doesn’t last very long.
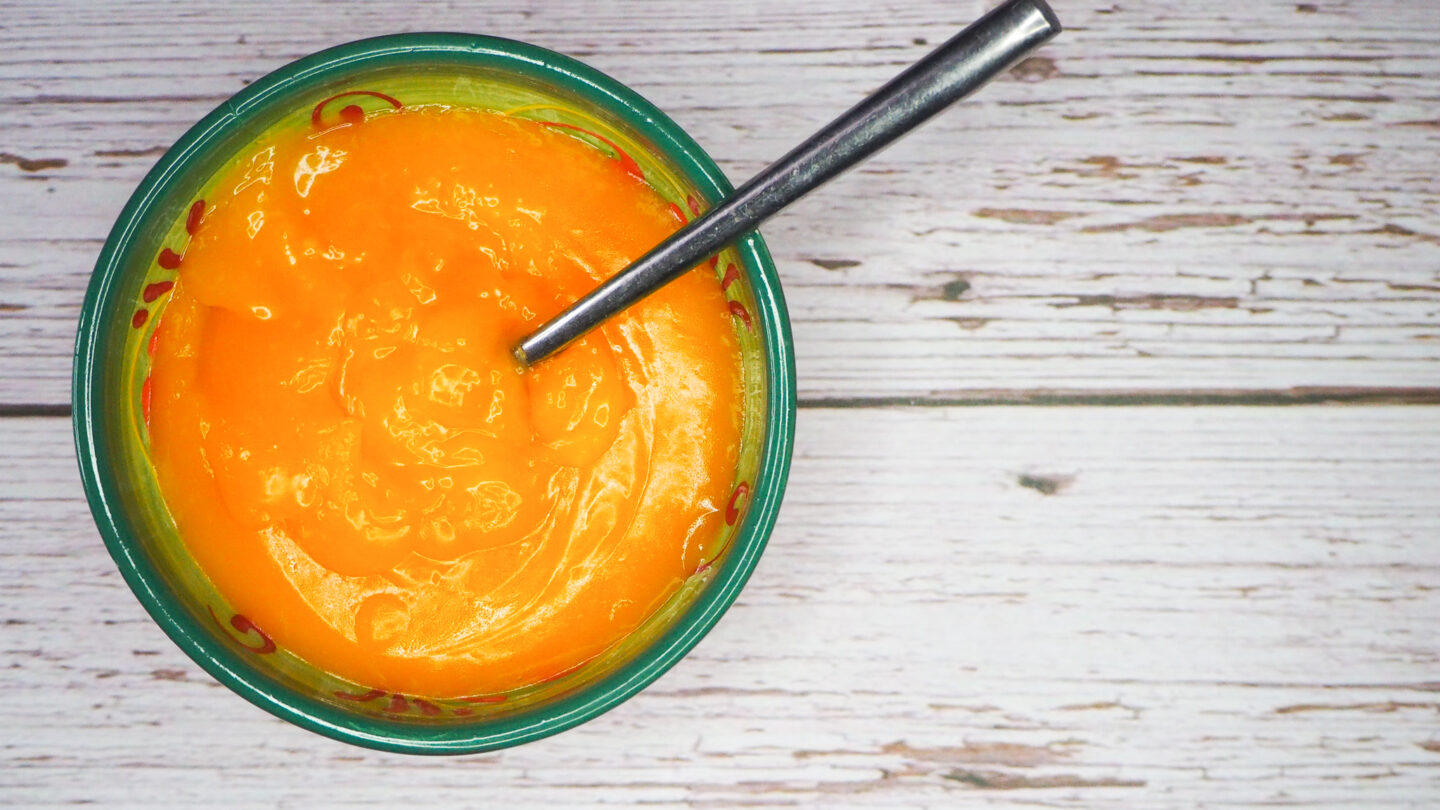
There’s not a lot to this recipe. It’s only a few ingredients and it’s very simple to make, but if I have one bit of advice to share, it would be to invest in the best quality eggs and butter you can find. If you can get your hands on free-range eggs with the orange yolks, it will give it the rich, deep colour you see in the photos and it’s so beautifully appetising. It won’t look like the sad, pale yellow stuff you find in jars at the shops, but more vibrant and appealing. You can of course make this with any quality of eggs or butter you can afford and it will still be delicious, but if you can splurge a bit, treat yourself and buy the good stuff.

Ingredients
- 120g unsalted buter
- Zest & juice of 2 lemons
- 170g white caster sugar
- 3 large eggs, preferably free-range, lightly beaten
Method
- Add the butter, lemon juice & zest and the sugar to a large saucepan over medium-low heat. Stir using a wire whisky until the butter is melted and the sugar is completely dissolved.
- Remove the saucepan from the heat and pour in the eggs a little at a time, beating constantly as you do so. Do not stop stirring as you do this or the eggs will scramble and you’ll have to start all over. Feel free to take your time on this step beating constantly until every last bit of egg is whisked in.
- Return the pan to the burner and increase the heat to medium while stirring constantly. As it cooks it will begin to thicken. Keep a close eye on the mixture and do not let it boil or it will become a curdled mess. If it starts to look too steamy or makes you nervous either remove the pan from the heat momentarily while still stirring or turn the heat down. You can always increase it again later. Carry on stirring and cooking until it resembles a thick, smooth custard consistency, which means it’s done. If you aren’t sure, try the spoon test. Dip a spoon into the mixture and it should completely coat it if it’s ready.
- Pour the custard immediately into a serving dish if you’re using it right away. If you want to keep it for a while, you can pour it into a hot sterilised jar, let it cool for a bit and then keep it in the refrigerator for up to two weeks.
